Yesterday was an awful day, as far as the weather goes. It rained all day long and the wind was howling so we decided to have a day at home. To be honest we usually go out, no matter the weather, but yesterday we decided to stay indoors and potter around the house.
My kids got it into their heads that because we were home for the day, it meant they could have a gaming day – erm nope, there’s only so much screen time a person needs! They ended up doing a couple of activities – one was an independant one in our workshop – (there will be a blog post on that one once they finish their projects), and the other one required sitting at the table for a while and concentrating, (mean mama, lol).
This project idea started when I was in our local SCRAP shop recently. This place is like heaven for a girl like me! When we go, I tend to give my kids a budget and tell them to look for what inspires them. We then come home and they get to make something out of their purchases.
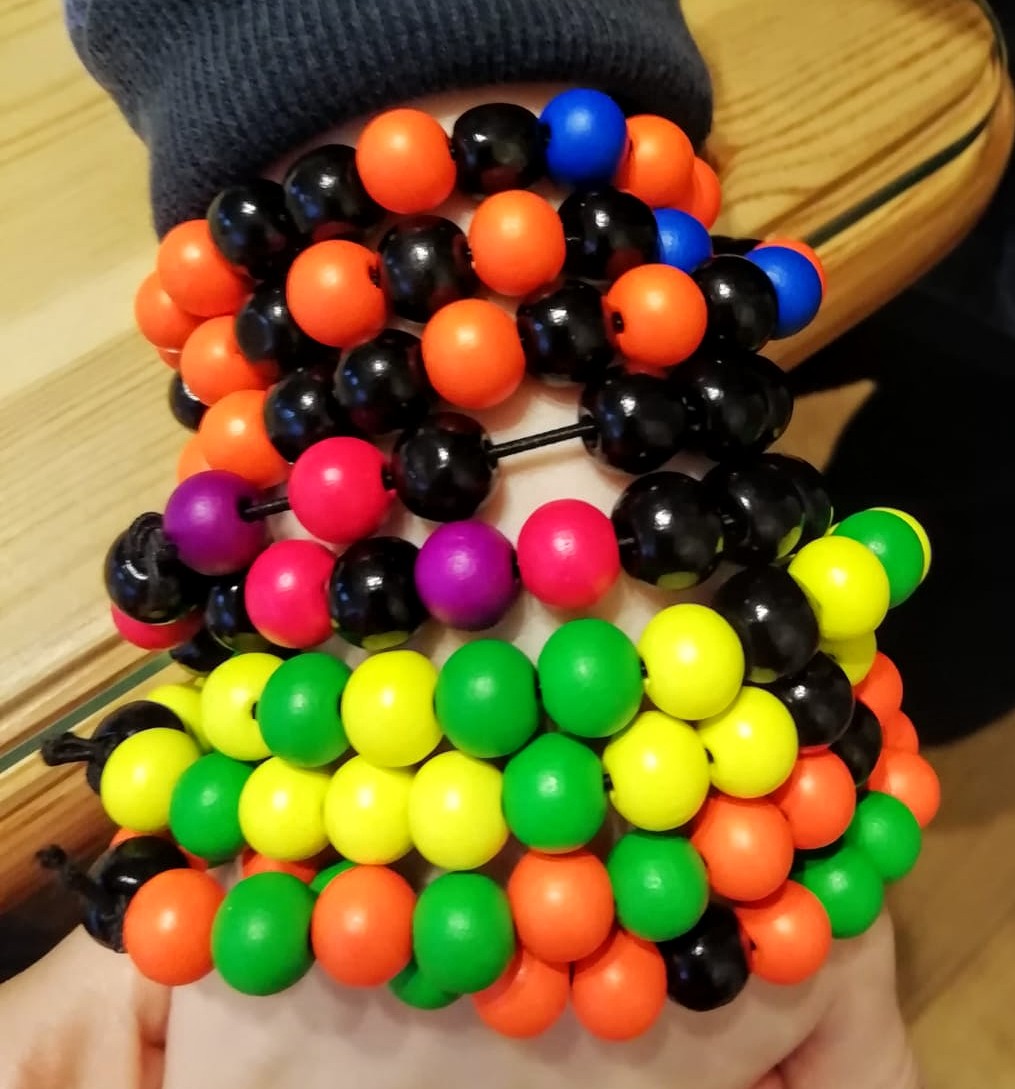
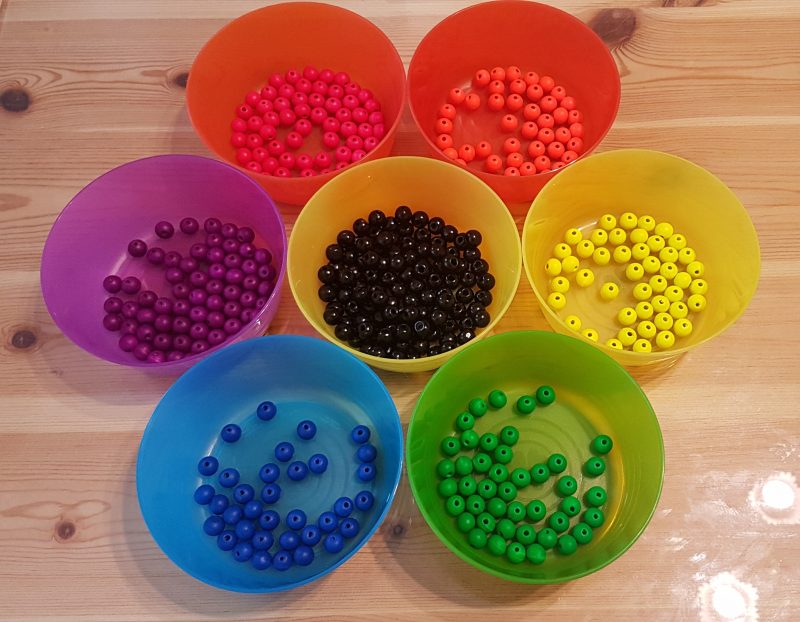
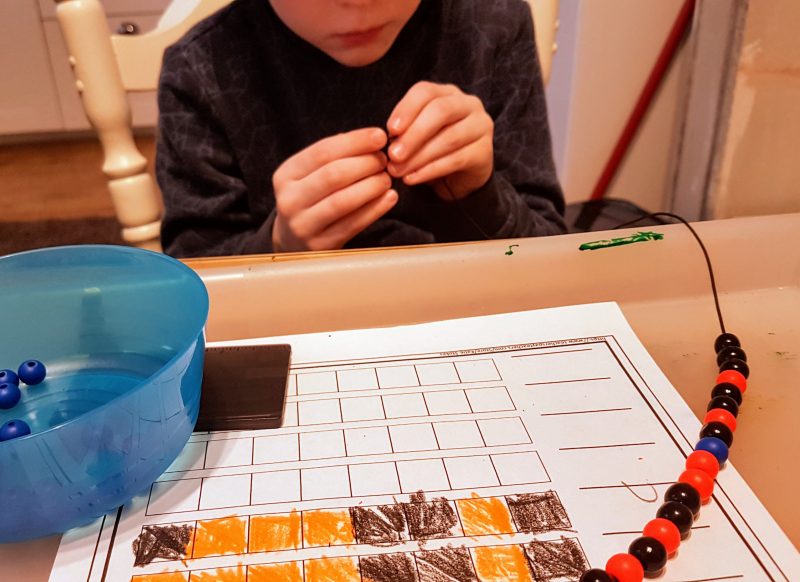
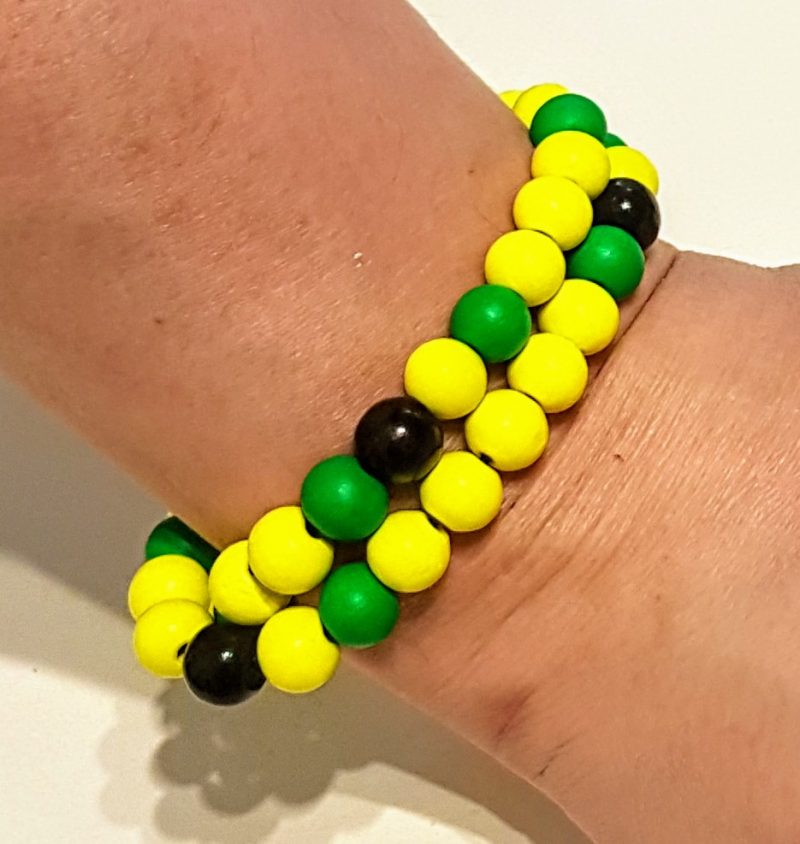
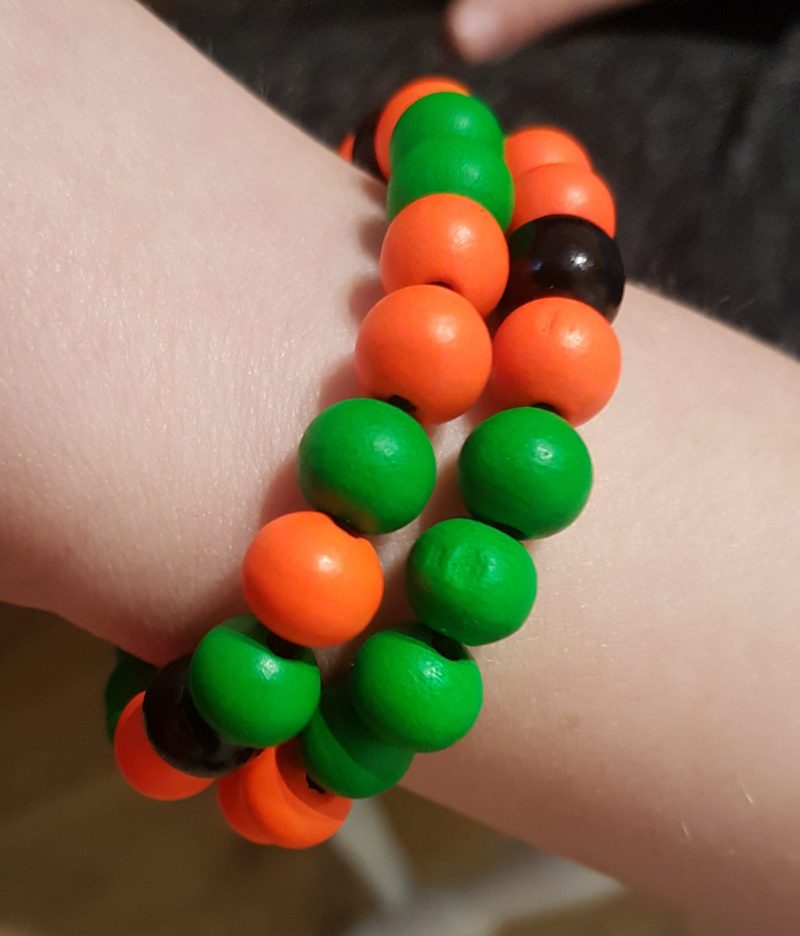
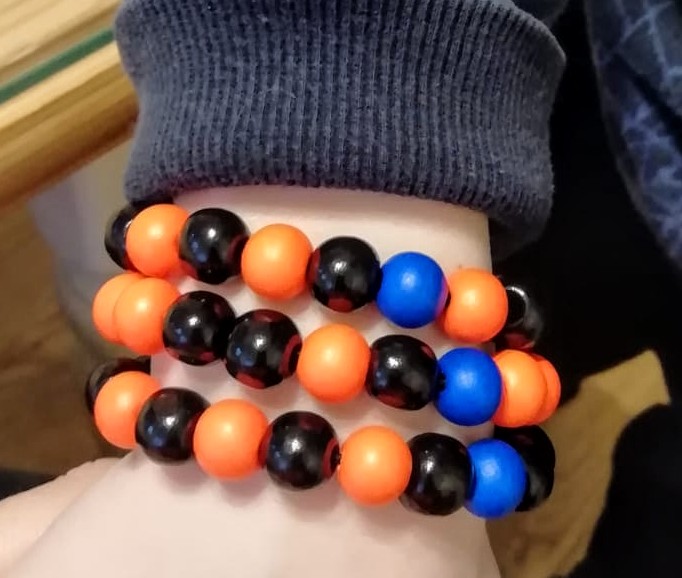
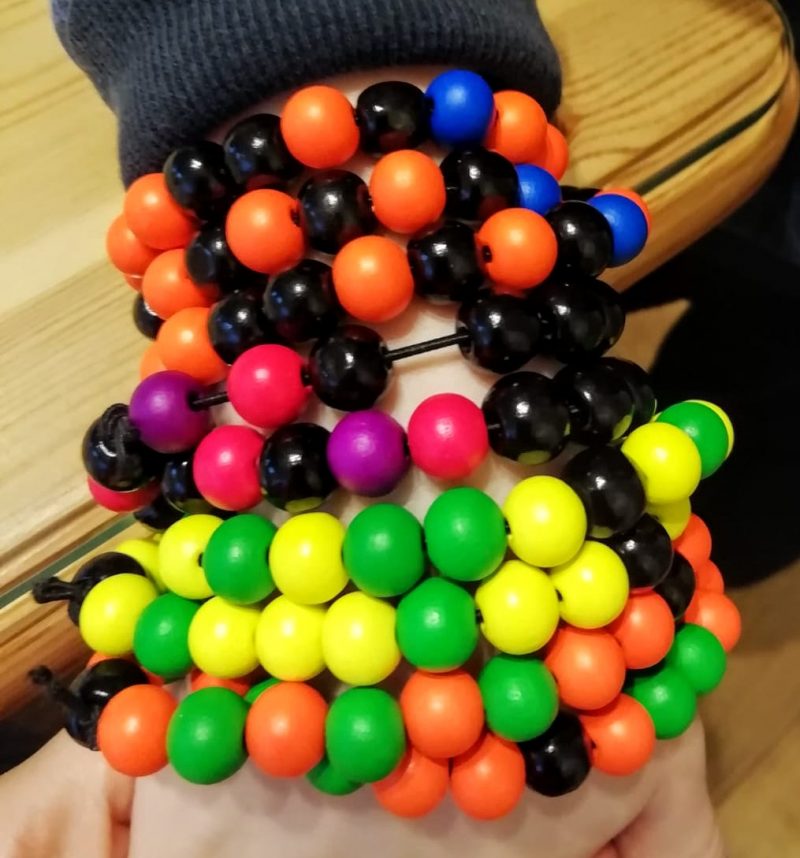
This time I found some neon wooden beads. I knew instantly what I wanted to use them for. If you want to try this project at home you will need the following…
- Beads of any kind. (I used wooden so they would look a little more grown up for my kids. You need 3 colour choices per person)
- Thin Beading Elastic*
- Coloured Pencils/Crayons/Markers
- Binary Coding Worksheets (I was going to create my own but then I found this amazing resource that is kindly being offered for FREE – be sure to leave a good review for her)
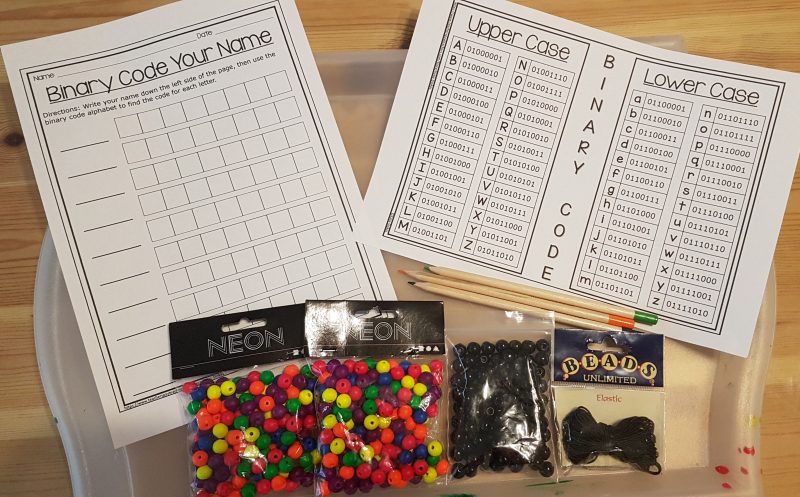
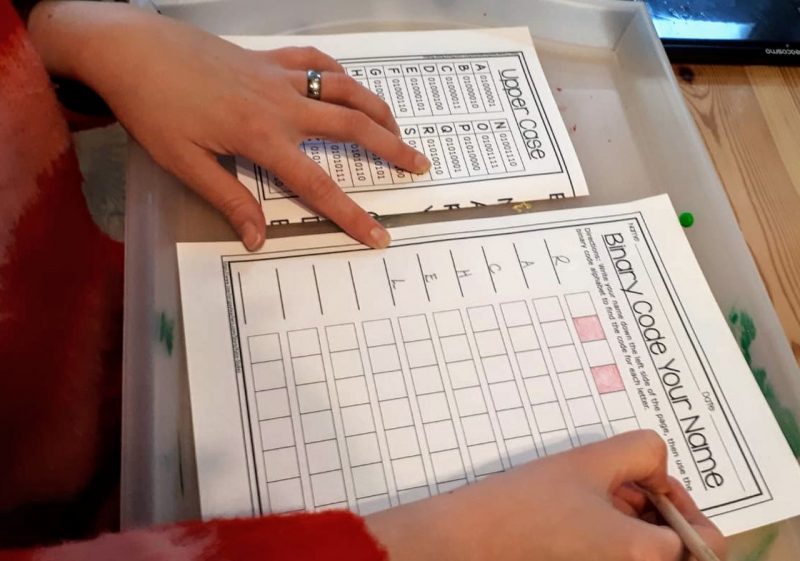
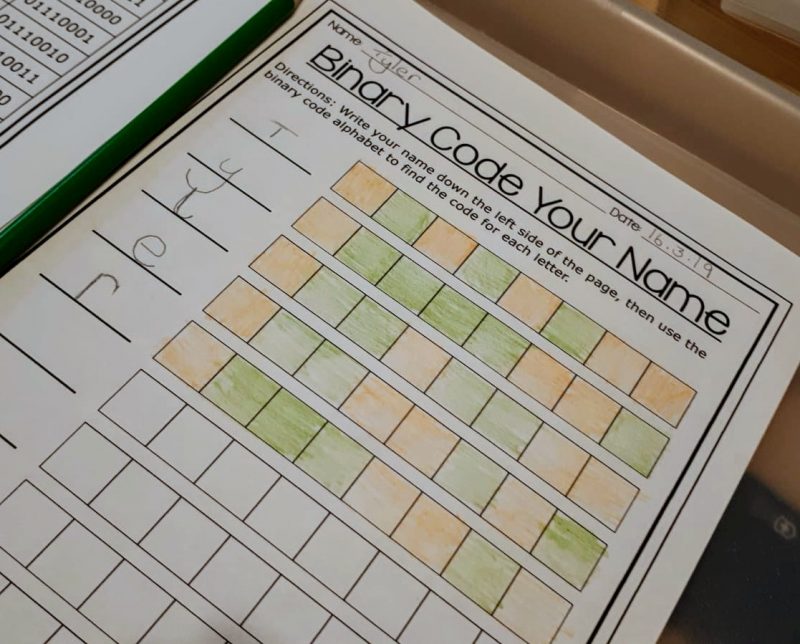
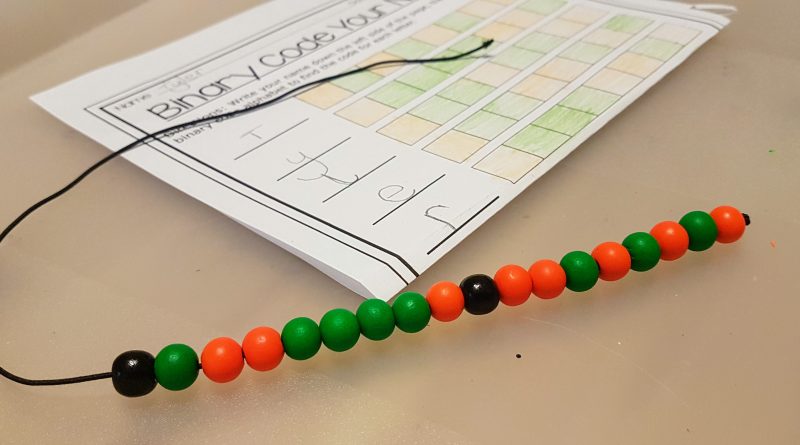
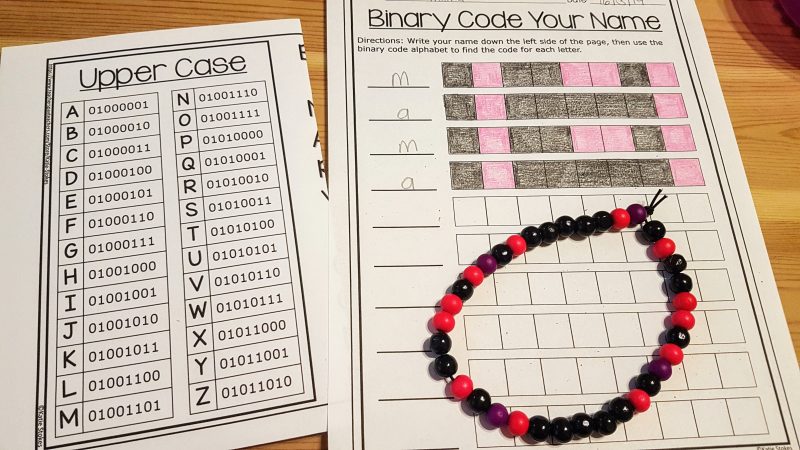
We learned that BINARY CODE is how computers talk and represent information. Basically everything you see on computers is made up of different combinations of 0’s and 1’s.
I got the kids to look up the definition of BINARY, they saw that it means relating to, composed of, or involving two things. So binary code uses only two numbers – 0 and 1.
We found a fantastic website to explain this in more detail to my young mathematicians. You should take a look – we found it really interesting.
After a bit of whinging about having to ‘work’ on a Saturday, my kids actually got really into it. I think it helped that dad & I joined in too. I love that the activity ticked a lot of boxes, including using their fine motor skills. 🙂
Give this one a try – you can get really creative as there are tons of cool beads* out there!